Apple’s Macbook Pro has become the stalwart amongst professional DJ’s and I would be hesitant to turn up to a club with anything different. However, you probably use your Macbook for a lot more than just DJing. You might need programs like Photoshop for your work and other hobbies besides DJing and these days many ‘must have’ applications can be very CPU intensive and slow up your system. Of course the ‘moneys-not-an-issue’ option would be to buy a custom dedicated DJ spec’d Macbook to run only Serato DJ but it’s a big commitment to buy one Macbook, let alone a second for one single use.
The solution then is to strip the fat, tune up your existing setup and find a happy medium between peak DJ performance and every day use. Here’s my top 5 tips for prepping your Macbook Pro for digital DJing with the all new Serato DJ 1.6.1
Tip 1.Switch Off Wi-Fi AND Bluetooth
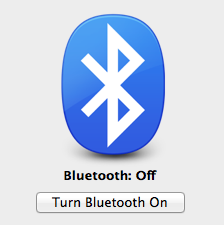 I’m guessing we are on the same page when thinking that checking Facebook while performing is a no go?! Not only is this a performance issue, it’s begging the computer gods for problems. Wireless and Bluetooth networking are notorious for interrupting USB communication and causing audio issues. You don’t have to turn these options off and never use them again, but it is in your best interest to turn them off before playing out or recording a mix.
1. Click on the Wi-Fi icon in your Apple menu bar.
2. In the dropdown menu click Turn Wi-Fi Off.
3. Click on the Bluetooth icon in your Apple menu bar.
4. In the drop down menu click Turn Bluetooth Off.
Tip 2. Free Up Your Hard Drive With Disk Doctor
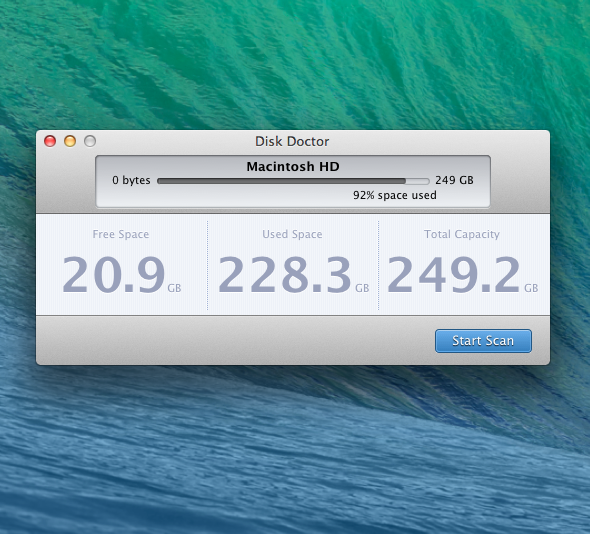 Anything less than 10GB available storage space is going to cause you problems but it’s best to keep your HDD as light a possible for maximum DJ performance. So when making the switch over to Serato it’s the perfect time to have a clear out.
You can manually sift through all the files on your hard drive to find candidates for deletion or you can save time by having a dedicated app do it for you.
Disk Doctor 2.1 is a great resource to free up storage space on your Mac. Simply shut down any open applications, open Disk Doctor, and let it scan your drive, and the program then returns a listing of how much space is being used by applications each of several categories: Applications Caches, Application Logs, Downloads, Extra Languages, Mail Downloads, and Trash Can.
You can download it from the Mac Appstore for just for $2 so it won’t break the bank.
Tip 3. Free Up Memory With Memory Clean
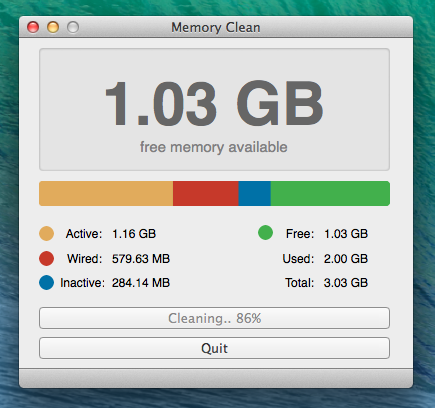 Your Mac likes to cache things in your “free” RAM so if you need them later you can load them quickly. This might be nice sometimes, but if you need to free up a lot of memory before your important DJ gig you might not want it filled with cache files.
Memory Clean wipes them out with a couple of clicks. Watch out though as apps like this are controversial as many believe they just offer the placebo effect of increased memory.
To be honest you can do what this app does by simply opening your Macbook’s Terminal application and typing in ‘Sudo Purge’ to purge unused memory. However, I really like the visual nature of this app.
It sits up in your menu bar and gives you a constant visual readout to let you know how your machine is doing and best of all it’s totally free so you can’t go wrong with this one really.
Download it for free from the Mac Appstore and experiment…
Tip 4. Disable Your Dashboard
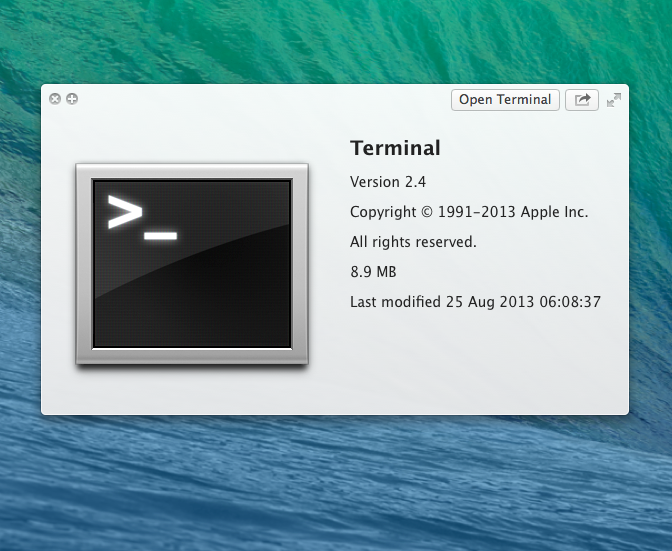 Your Dashboard uses up to around 20MB of RAM, and although this isn’t a great deal it can account to quite a bit on older machines, after all when it comes to optimising speed, every little helps. Turning off Dashboard is pretty easy…
1. Open the Terminal application (it’s in the Utilities folder).
2. Type in the following command then hit Enter. defaults write com.apple.dashboard mcx-disabled -boolean true
3. Type in the following command to relaunch the Dock, then hit Enter. killall Dock
Your dashboard should now have vanished. If, however, you want to bring it back? Simply re-do the same commands above, only change the word true to false.
Tip 5. Give Your Mac a Break
 We can all be guilty of going about our business, finishing a task, saving a file and just closing the lid without even even a second thought. But taking a little extra time every once in a while can pay great dividends.
This is because your Mac has a few tools that it uses automatically to help maintain and take care of itself. Some of these tools only run during shutdown and startup.
Get into the habit of turning your computer all the way off before launching Serato DJ instead of just closing the lid before heading out to a gig. Everyone gets run down once in a while, including your Macbook.
…and finally!
Bonus Top Tip: Turn Off Infrared Reception
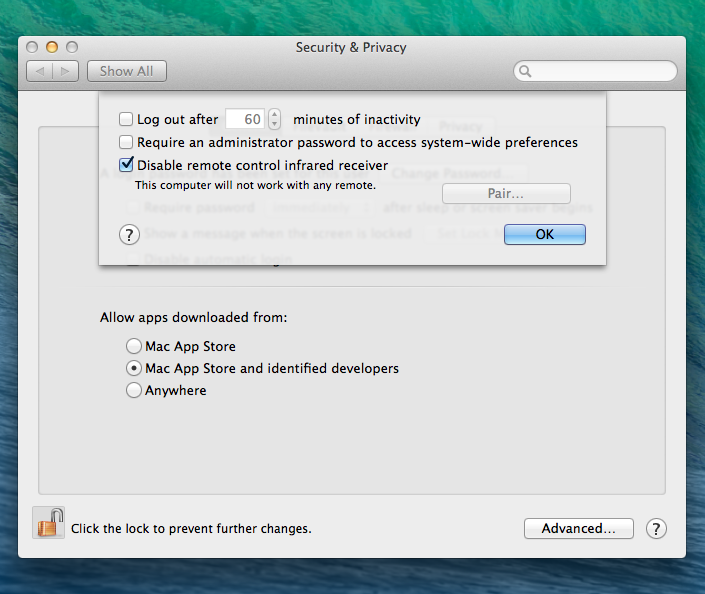 Now there is probably only a small chance of this being a problem but all it takes is one nutter in the club with a remote to fiddle with your Macbook and shut you down mid set.
You can turn IR reception off to prevent unwanted control of your Mac or to prevent pairing with an IR remote control.
1. Go to Security & Privacy in System Settings
2. Click the padlock icon to unlock, then type-in your administrator name and password.
3. Click Advanced.
4. Select “Disable remote control infrared receiver” to turn off IR reception.
Job done.
If you have any other tips, tricks or whatever for speeding up your system for Djing then let us know about them by sharing in the comments below.

 I’m guessing we are on the same page when thinking that checking Facebook while performing is a no go?! Not only is this a performance issue, it’s begging the computer gods for problems. Wireless and Bluetooth networking are notorious for interrupting USB communication and causing audio issues. You don’t have to turn these options off and never use them again, but it is in your best interest to turn them off before playing out or recording a mix.
 Anything less than 10GB available storage space is going to cause you problems but it’s best to keep your HDD as light a possible for maximum DJ performance. So when making the switch over to Serato it’s the perfect time to have a clear out.
 Your Mac likes to cache things in your “free” RAM so if you need them later you can load them quickly. This might be nice sometimes, but if you need to free up a lot of memory before your important DJ gig you might not want it filled with cache files.
 Your Dashboard uses up to around 20MB of RAM, and although this isn’t a great deal it can account to quite a bit on older machines, after all when it comes to optimising speed, every little helps. Turning off Dashboard is pretty easy…
 We can all be guilty of going about our business, finishing a task, saving a file and just closing the lid without even even a second thought. But taking a little extra time every once in a while can pay great dividends.
 Now there is probably only a small chance of this being a problem but all it takes is one nutter in the club with a remote to fiddle with your Macbook and shut you down mid set.